
-Fly Lady
What I'm reading: It Starts with Food (Husband is also reading!)
What I'm writing: Still working on that first romance
One of the great things about our house is all the built-in storage. Our kitchen is humongous and we have tons of cabinets! (Which is great for stashing stuff, but kind of overwhelming when considering a cabinet-painting project. That's a subject for a different post...) We have a display hutch in the kitchen with glass doors. I've started collecting milk glass over the last few years and put it in this cupboard. But it was just so BLAH. No color, nothing to draw your attention. The brown wood back of the cupboard blended in with the brown wood of the other cabinets. Yawn.
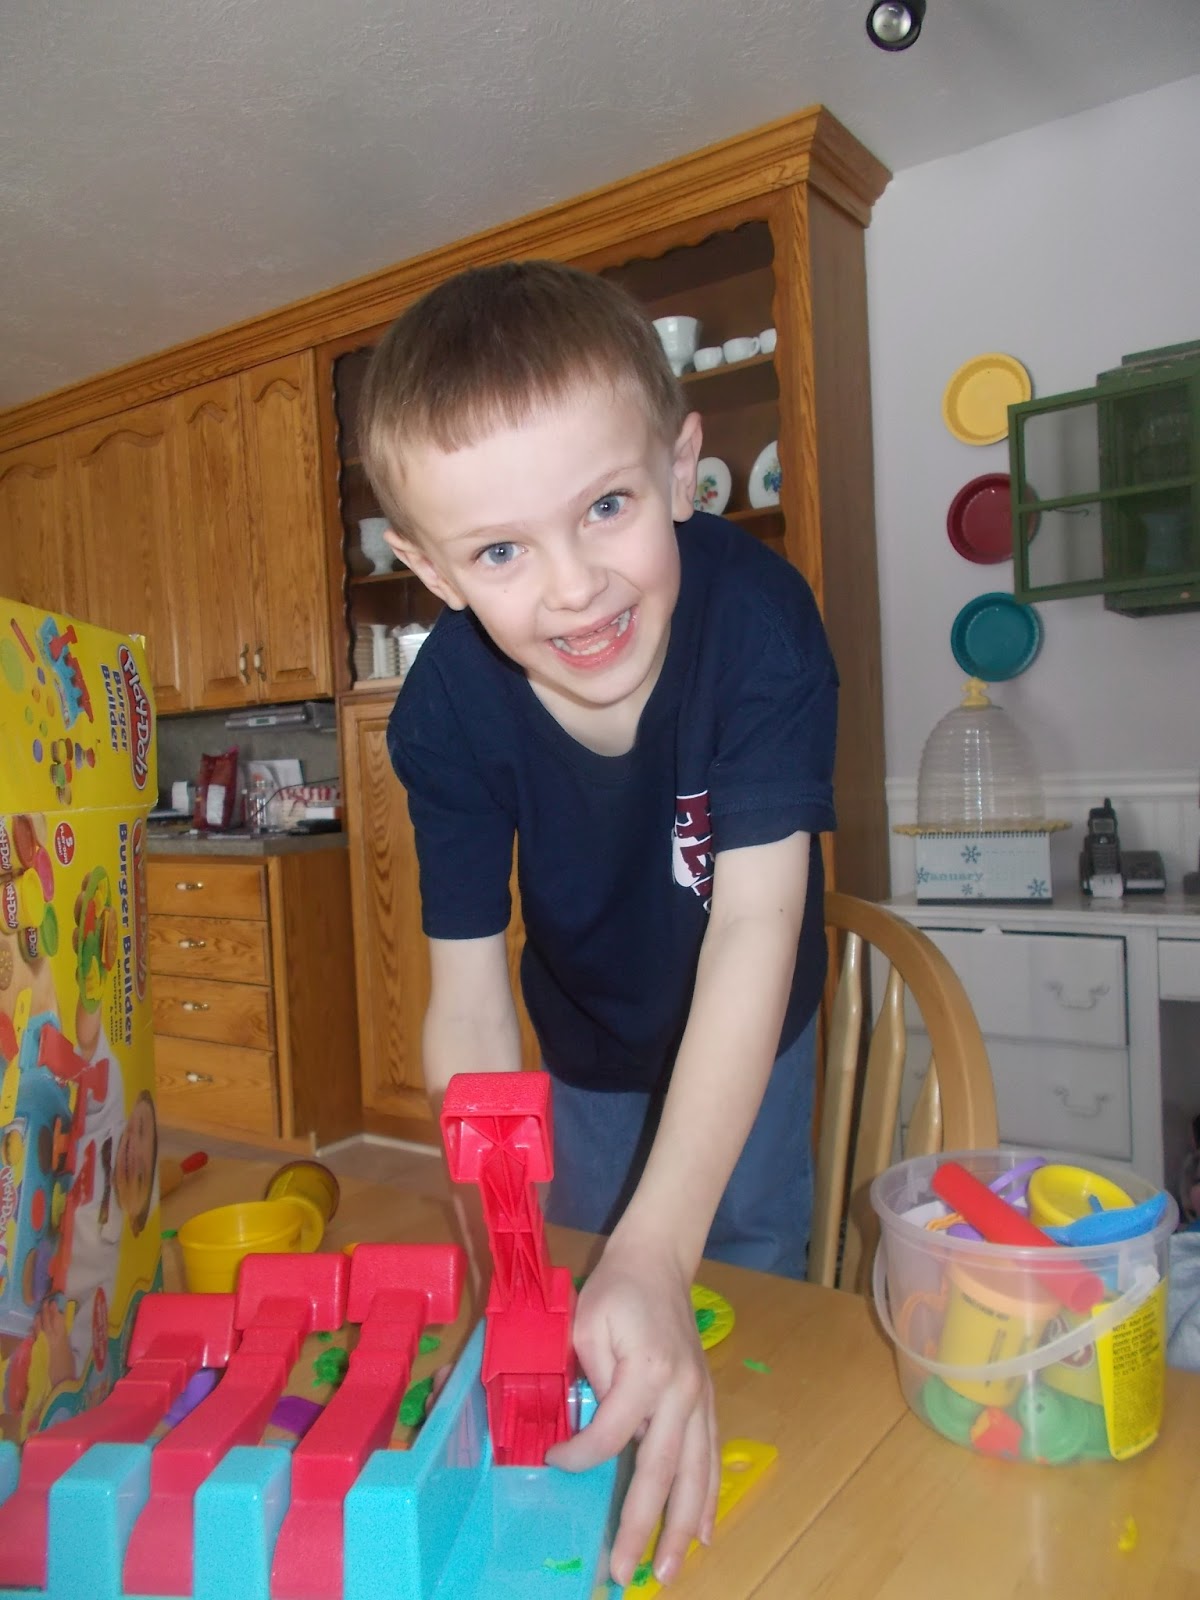
I am not always good at taking a picture before I start projects (I'm working on it!), but here is one with a bit of the cupboard in the background so you can get an idea. In the foreground is Boy 2 enjoying his PlayDoh. He is much cuter than the cabinets.
So I bought a roll, brought it home, and put it in my storage room where it collected dust for a while. I just kept obsessing over how, exactly, I was going to put it up and make it straight and make it stick... Until one day I was staring at that cabinet AGAIN and I said to myself, "Fly Lady says Progress, not Perfection!" I found Fly Lady in January and she's changing my life, but I'm still a perfectionist in recovery. So I marched downstairs, got the wrapping paper, and got to work.
I started by pulling out all the milk glass and washing it. Then I took down the sliding glass doors (they're just on a little track so it wasn't hard) and pulled out the shelves. Here's what I had:
.JPG)
You get a sneak peek of the roll of wrapping paper in the photo below, next to the very dusty shelves. Just keepin' it real, folks.
.JPG)
.JPG)
Now a part of me wanted to measure the cabinet, measure the wrapping paper, and cut out a pre-measured, perfectly fitting piece to go in the back. I actually tried measuring the inside of the cabinet. But it was hard to get a good measurement and I was frustrated. So instead I cut a piece that I knew was just a little bit too long. I matched up the corner and started pressing it to the tape.
.JPG)
I worked my way across the top first. And it wasn't perfect. By the end I was about 1/8" off. But when I tried to pull the wrapping paper off, it really didn't want to come. I didn't want to start over. So I repeated to myself, "Progress, not perfection!" And I started working down the side. As I reached the bottom, I pressed the paper into the bottom corner of the cabinet with a Pampered Chef scraper. You know, those brown plastic square thingys that come with P.C. stoneware? They are good for all kinds of things!
.JPG)
.JPG)
I was almost done and feeling pretty dang awesome about myself when....
.JPG)
ARGH! Egads! Drat! This spot did NOT want to behave and it had a good tantrum when the knife came along! I was so frustrated. So close to finished and this happened! You'd think I was just using cheap wrapping paper or something. Oh, wait...
I sat back and looked at this spot for a while. Then I looked at the massive pile of milk glass air-drying on the counter. And I decided to leave it like it was. I KNOW. Obviously I'm some kind of defective crafter, right? What kind of wanna-be DIY blogger leaves a goober like that in the middle of their project? A goober so nasty it deserves to be formally named Goober?
This one.
Yep, I'm okay with it. I'll show you why. Here's the cupboard with the shelves back in:
.JPG)
If you look closely you can see my friend Goober in the bottom center. I mean, the polka dots are so amazingly adorable that they distract the eye, but still. But be patient, my friends, because here is the finished cupboard with my milk glass.
.JPG)
Yup. I put a plate right. In. Front. Of. Goober. Mua ha ha! No one will ever know Goober is there! Wait, except for all the tens of people who may look at this post. Shoot. I've gone and blown my dirty little secret.
Seriously, though. I love it. Just the right color and retro-styled fun to add a little pop to my kitchen of brown. I love how the milk glass stands out against the red. This cupboard makes me smile every time I walk by, and I think part of that is because I let myself be less than perfect and everything turned out fine and not one person died because the wrapping paper was not quite straight.
I love, love, love it! So cute. The paper you picked is perfect (and no, I don't really throw that word around too often). I love Flylady too! I need to get back on the system. Wanna be my Flylady buddy? You inspired me to start back on a couple of projects I'd given up on. Now I'll have to go check out the rest of your blog.
ReplyDeleteYes! Gluten-free Flylady buddies! For reals, she is changing my life.
DeleteLove it!!!! Polka Dots are so cute too.
ReplyDeleteI know you love polka dots as much as I do. :)
Delete